We’ve had our Framework Laptop 13 for a little over 3 months, daily driving it as our main machine for work, web browsing, watching videos, and writing this post. How has it been holding up and is a repairable and upgradable laptop worth investing in?
This review will cover the full Framework Laptop experience, from purchasing to using and replacing parts. It won’t address issues others have faced in the past and will only cover our experience so far.
Ordering the Framework laptop
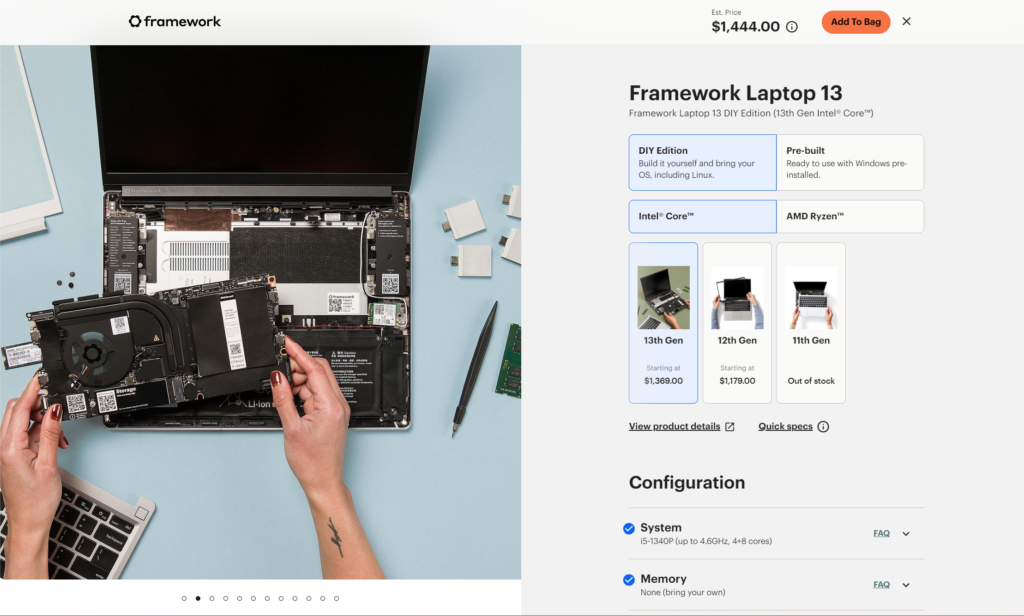
Unlike many other customisable laptops, Framework’s component selection process on its DIY is simple yet in-depth enough that you know exactly what you’re ordering. Another great addition is the ability to bring your own RAM and SSD instead of using what Framework suggests. Using your own is also cheaper if you are going for the cheapest option.
After making our selections, we landed on the Framework Laptop 13 (13th Gen Intel i5-1340P) DIY edition with four expansion cards, 2 x USB-C, 1x USB-A, 1x MicroSD. We opted to get our own RAM and storage and leave out the charger.

Building the Framework Laptop
After ordering the Framework Laptop, it took exactly 10 days to arrive, even arriving two days before it was due to. We did buy the laptop after all the pre-order backlog was churned through, meaning the laptop was shipped within a week.
As we opted for the DIY version, it meant some assembly was required. The laptop arrived in three parts, the main body with the display and components populated, the bezel, and the keyboard, which was removed to allow the SSD and RAM to be installed.
While the overall process of installing the components was straightforward and quick to do, following the instructions provided by Framework wasn’t as straightforward. The instructions were from a previous generation of Framework Laptop, potentially Intel 12th Gen which has some slight differences to how the 13th Gen arrived. More on this further on in the post.
Other than the slight irregularities in the guide, everything went smoothly, and we had a laptop installing Windows within 30 minutes or so. You can watch a start-to-finish build of the Framework Laptop below.
Setting up the Framework Laptop
Once loaded into Windows 11, default drivers for the display and Wi-Fi were loaded in. We went directly to Framework’s forums and got our hands on the driver bundle, which includes all the drivers needed to get the laptop up to speed. Framework has driver bundles for all variants of the Framework Laptop as it is required when switching out mainboards.
This process was as simple as running an exe file, letting it do its thing, and restarting when complete. After that, it was like a normal ready-to-go laptop you would buy.
Using the Framework Laptop
Using the Framework Laptop is a great experience! From the tactile keyboard with a lot more travel than pretty much all other laptops we’ve tried to the great build quality and finish. The Framework Laptop is great to use and just works like you would expect from a laptop you’d purchase off the shelf and built from the factory.
I haven’t had any issues with fan noise or the laptop getting too hot while using it from browsing with Chrome to light photo editing. The microphone and camera switches are great to have, and I have them in the off position 100% of the time as I don’t often use my laptop in situations that require either.
Overall, the Framework Laptop 13 is a great laptop with a purpose of being easily repairable and upgradeable. Framework can only go up from here and continue to build on the strong foundation it has created over the last couple of years. We can’t wait to see what Framework gets up to next and are looking forward to seeing what the Framework Laptop 16 has in store for us.


